









This post contains affiliate links. If you make a purchase through one of these links, Heritage Mode Maison may earn a small commission at no extra cost to you.
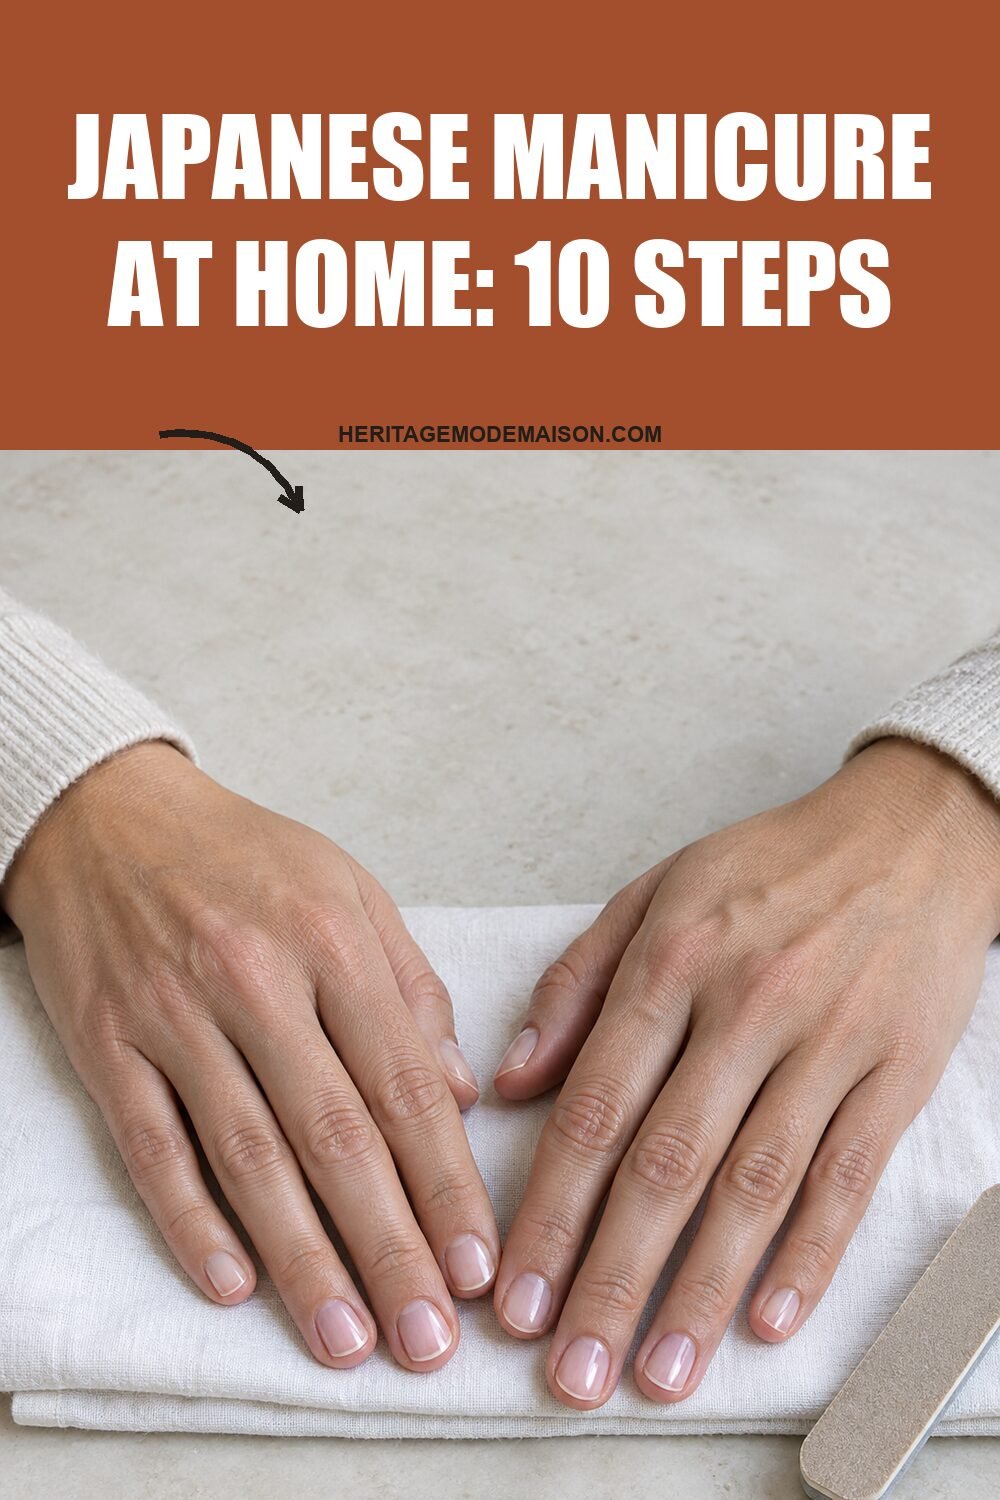
What if the most elegant manicure had no polish at all? That’s the idea behind the Japanese manicure.
Instead of painting over your nails, you nourish them with a paste and buff them with a fine powder until they shine on their own.
The result is the healthiest, most natural-looking gloss you can give your nails, and it takes about ten minutes at home.
Here are the 10 steps, in order, with the few tools that actually make a difference.
1. Know What a Japanese Manicure Actually Is
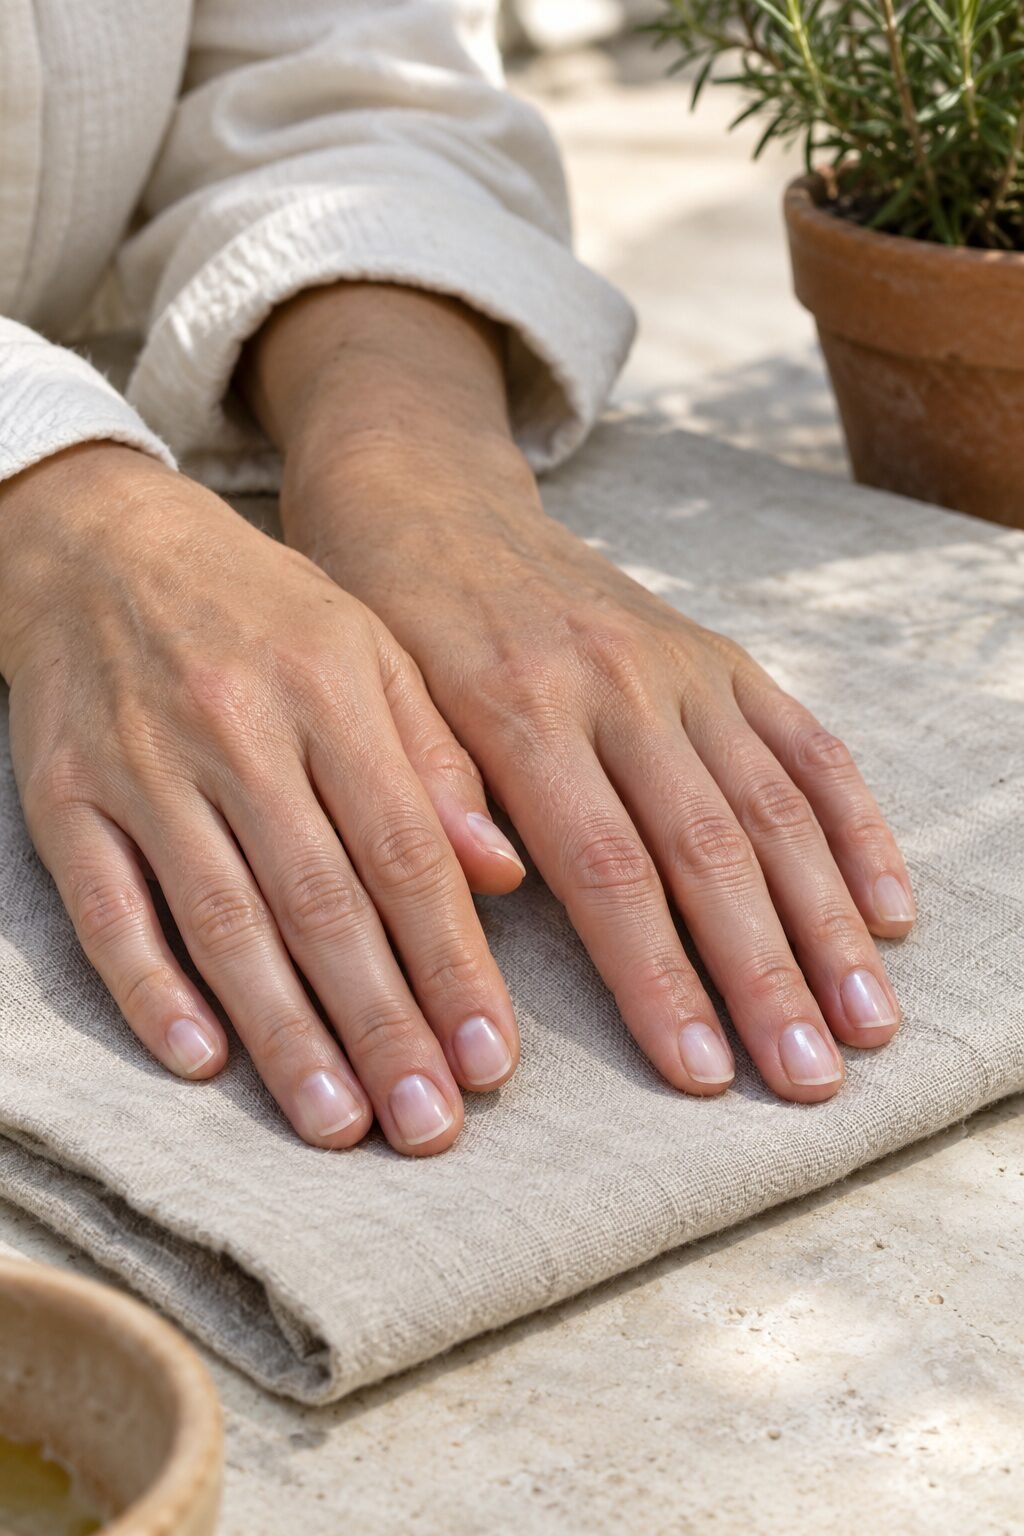
A Japanese manicure has no polish at all. A nourishing paste is massaged into the nail, then a fine mineral powder is buffed over it until the nail shines on its own.
The ritual is centuries old in Japan, and the idea behind it is simple: care for the nail itself instead of covering it.
The result looks like your nails on their very best day. Glossy, pinkish, and completely natural.
Tip: think of it as skincare for your nails, not a color you wear.
2. Start With a Warm, Oiled Soak
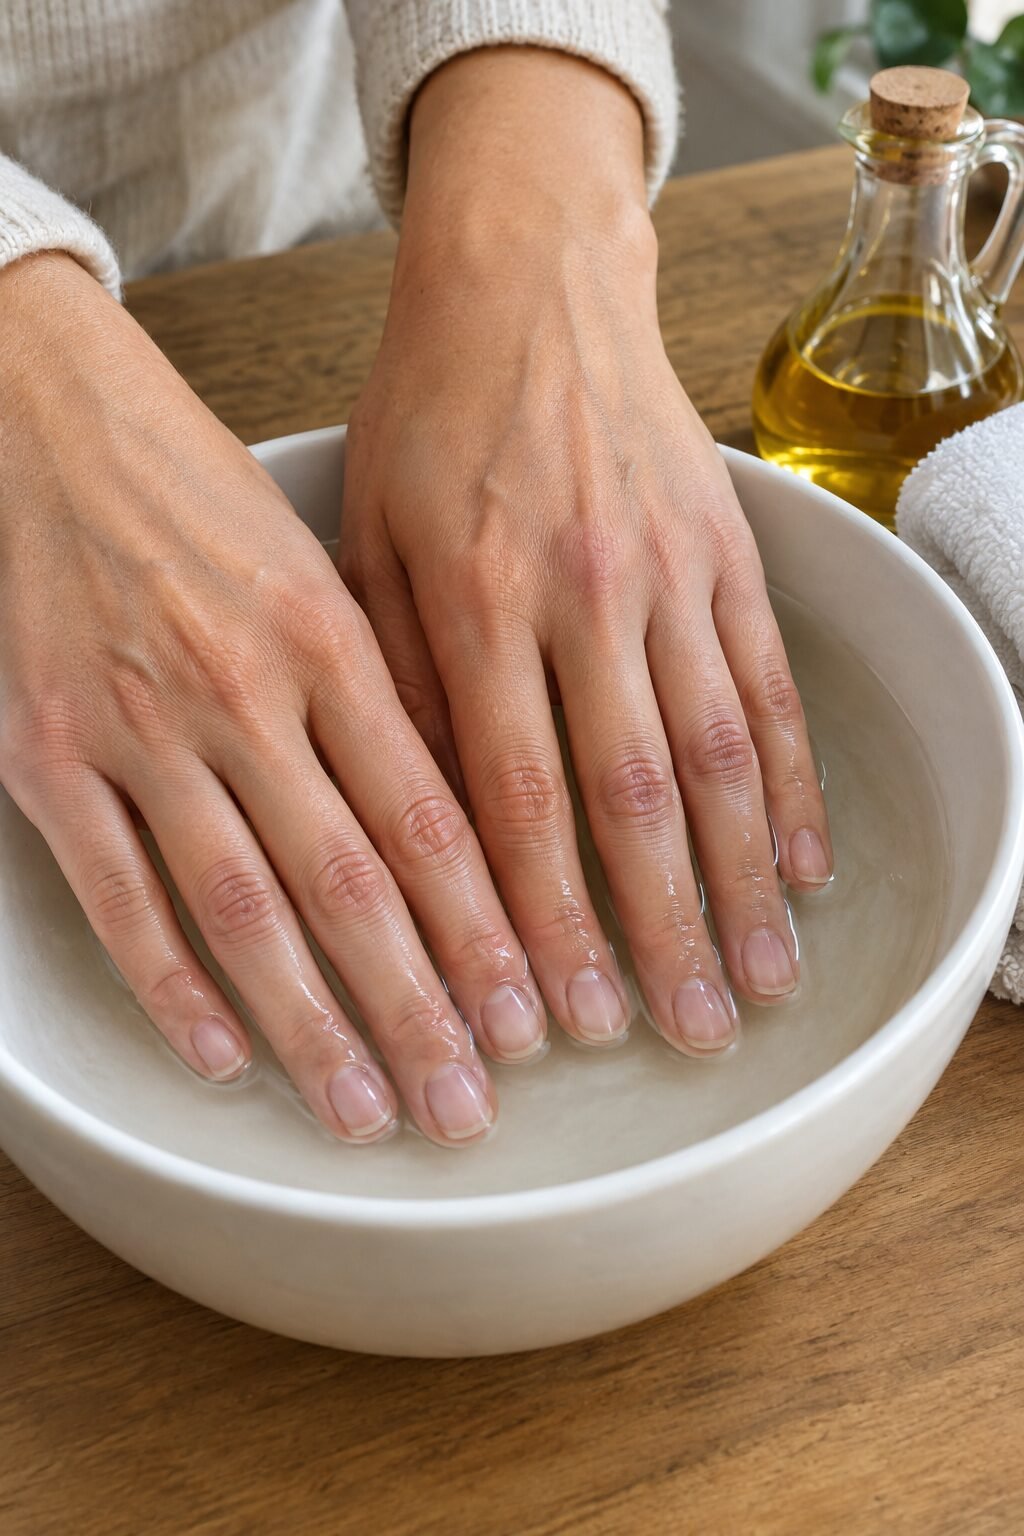
Everything that follows works better on soft nails. Soak your fingertips in warm water with a spoonful of olive oil for about five minutes.
The warm water softens the cuticle, and the oil stops the soak from drying out the skin around it. Soft cuticles move easily, so you never have to force or cut anything.
Pat your hands dry afterwards, but don’t rub them. A little residual oil is fine.
Tip: do this after a shower if you don’t want a separate soak.
3. Shape Into a Soft Oval With a Glass File

Editor’s Picks
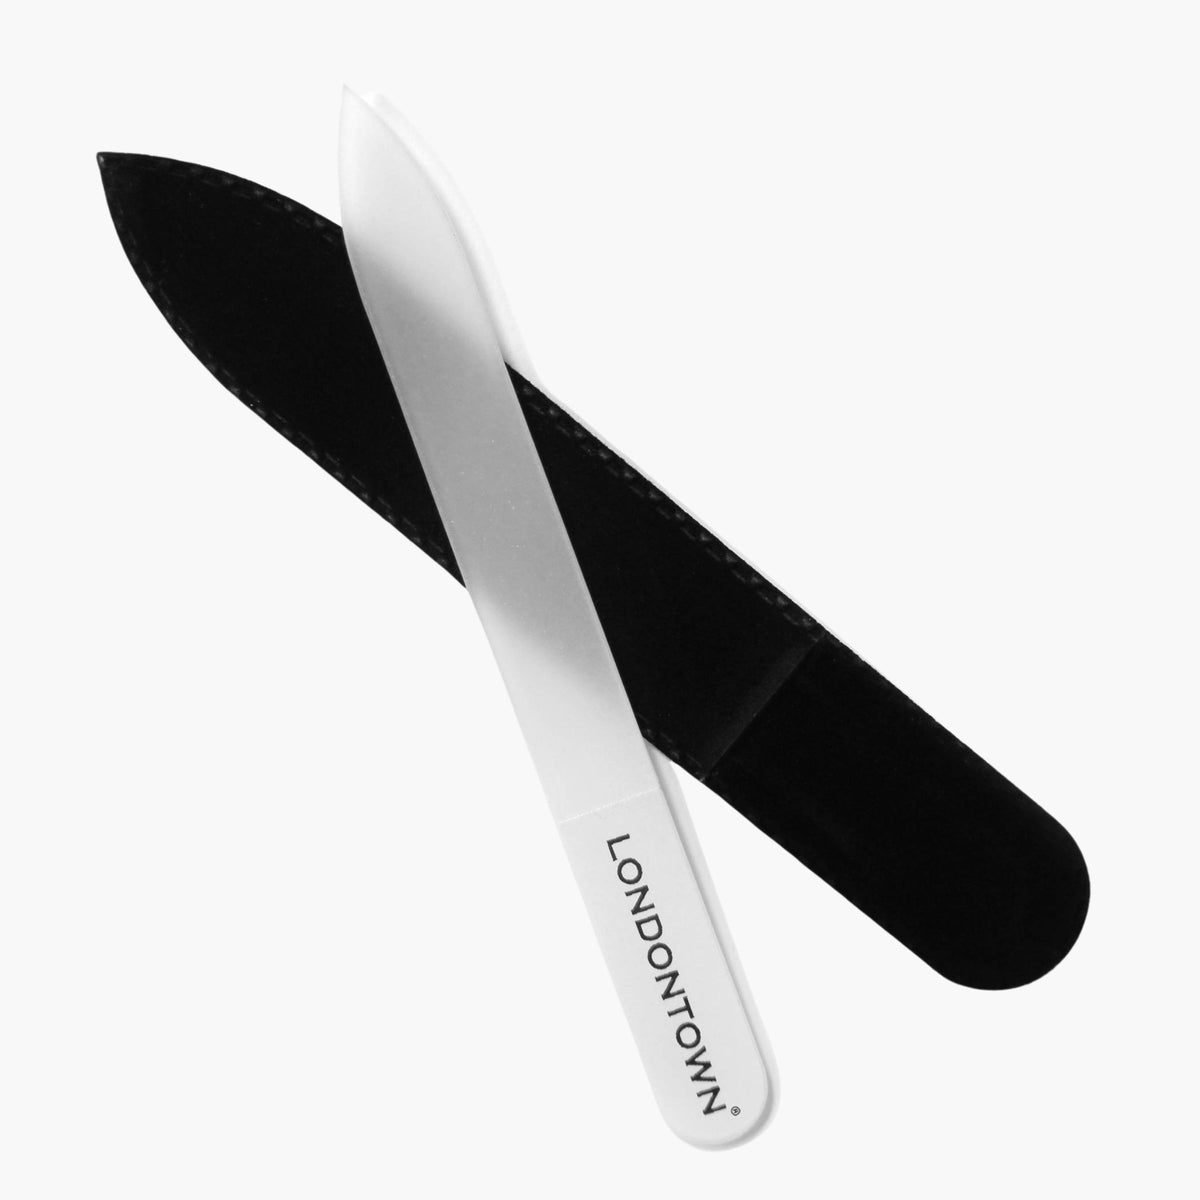
Glass Nail File
$12 | A white glass file with a fine, smooth surface that shapes the edge without shredding it. Comes with a protective case.
A soft oval follows the curve of your cuticle, which is why it looks so natural on bare nails. Keep the length short, just past the fingertip.
The tool matters more than people think. A glass file seals the edge of the nail as it shapes, while a rough emery board leaves tiny tears that turn into peeling.
File in one direction only, from the side toward the center. Sawing back and forth is what splits the tip.
Styling tip: I keep one glass file at home and one in my bag. It lasts for years, so it’s the one nail tool I’d never buy cheap.
4. Ease the Cuticles Back, Never Cut Them

Once the cuticles are soft, wrap a towel around your fingertip or use a wooden orange stick and gently ease them back.
That’s all. Cutting the cuticle removes the skin that protects the nail, and it usually grows back thicker and rougher.
If a tiny hangnail is catching, snip only that loose piece. Leave the rest alone.
Tip: be gentle at the corners, where the skin is thinnest.
A month of fall outfits, already planned
12 pieces, 30 outfits, one a day. $9, instant PDF
See the 30 Outfits5. Smooth the Surface With a Gentle Buffer
Editor’s Picks
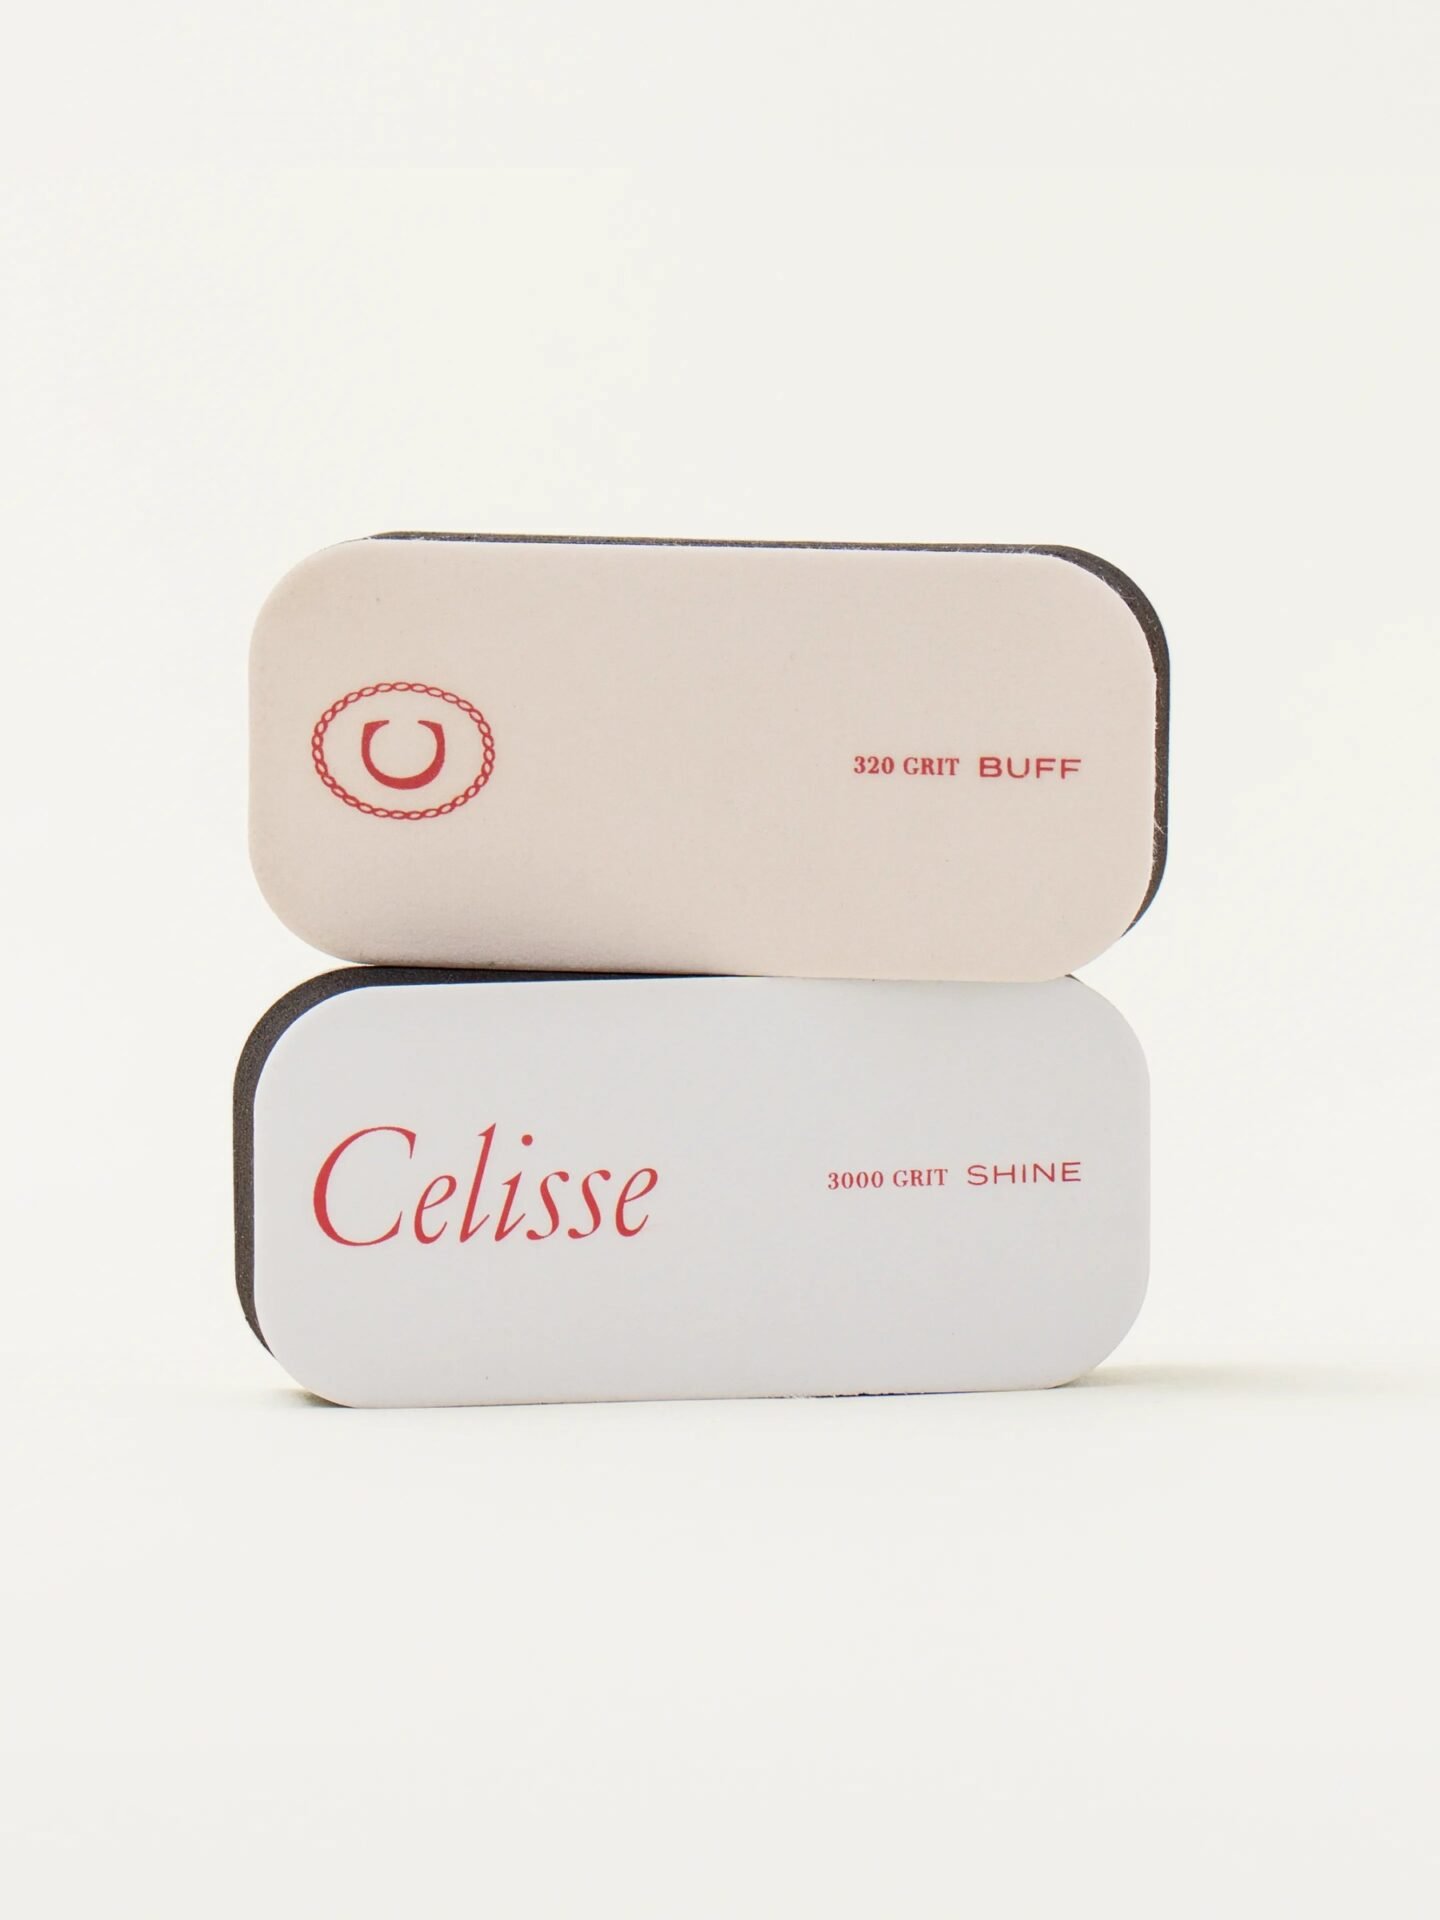
Double Buff
$10 | A two-sided buffer: a 320-grit side to even out ridges and a 3000-grit side that polishes nails to a natural shine.
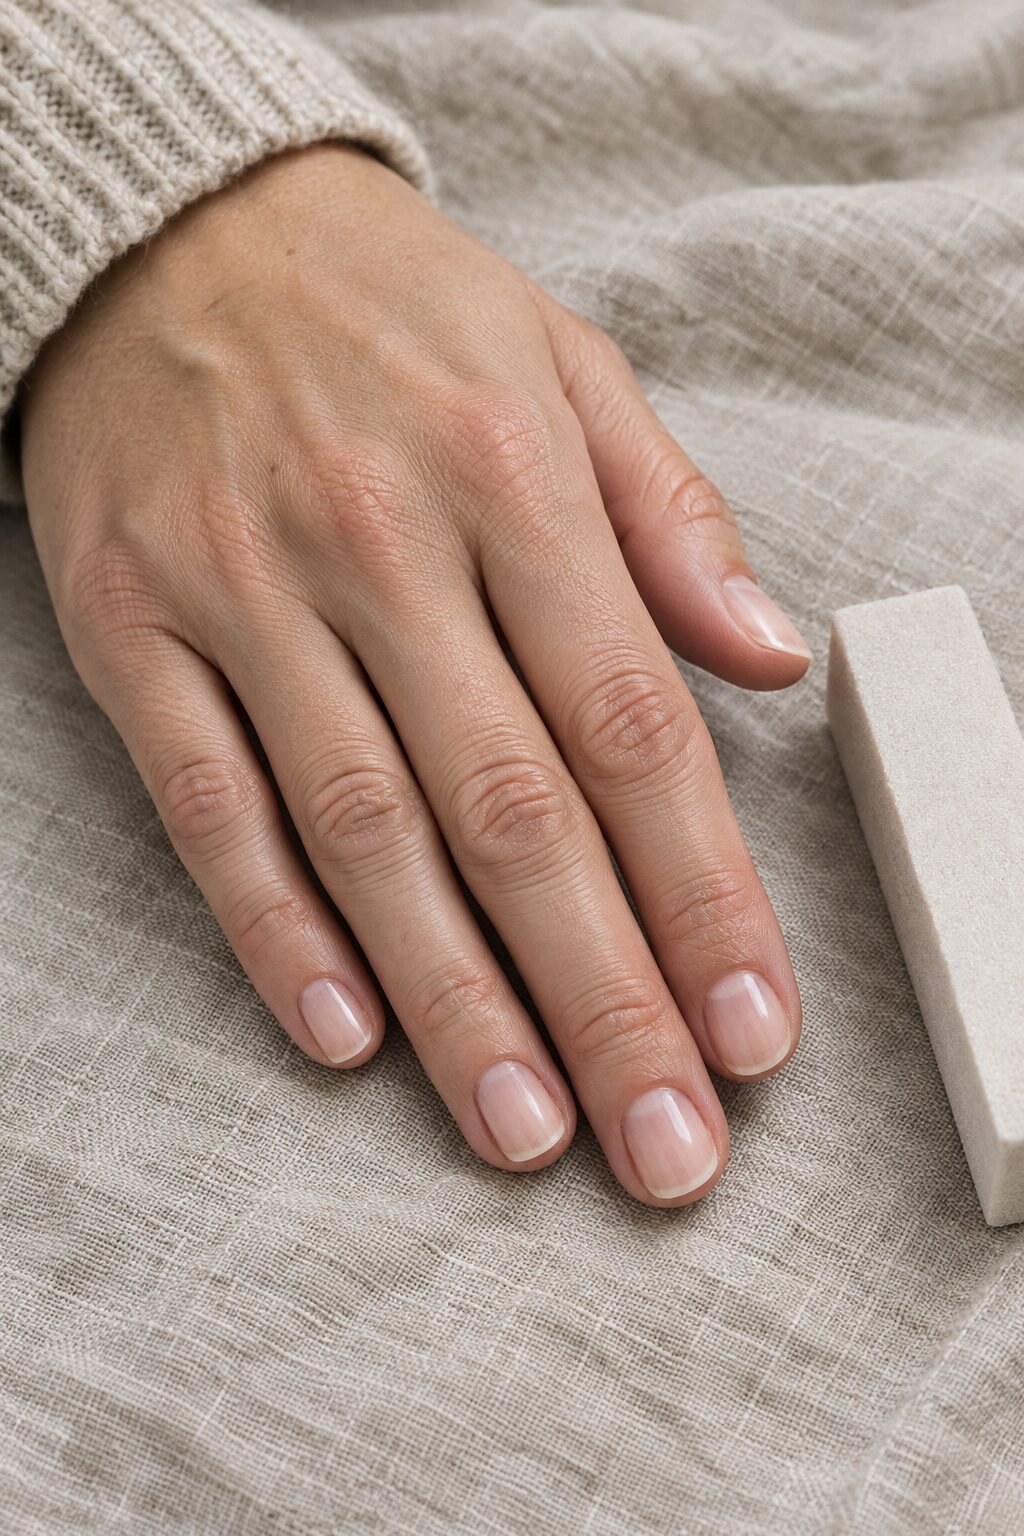
A light buff evens out small ridges so the paste can sit flat on the nail. Think polishing, not sanding.
A few soft strokes per nail are enough. Overbuffing thins the nail, and a thin nail bends, peels and loses its natural pink.
Use the softest side of your buffer, and skip this step completely if your nails are already thin or weak.
Styling tip: I only buff once a week. If a nail feels warm while I’m buffing, I stop, that’s the sign I’ve done too much.
6. Massage In the Nourishing Paste
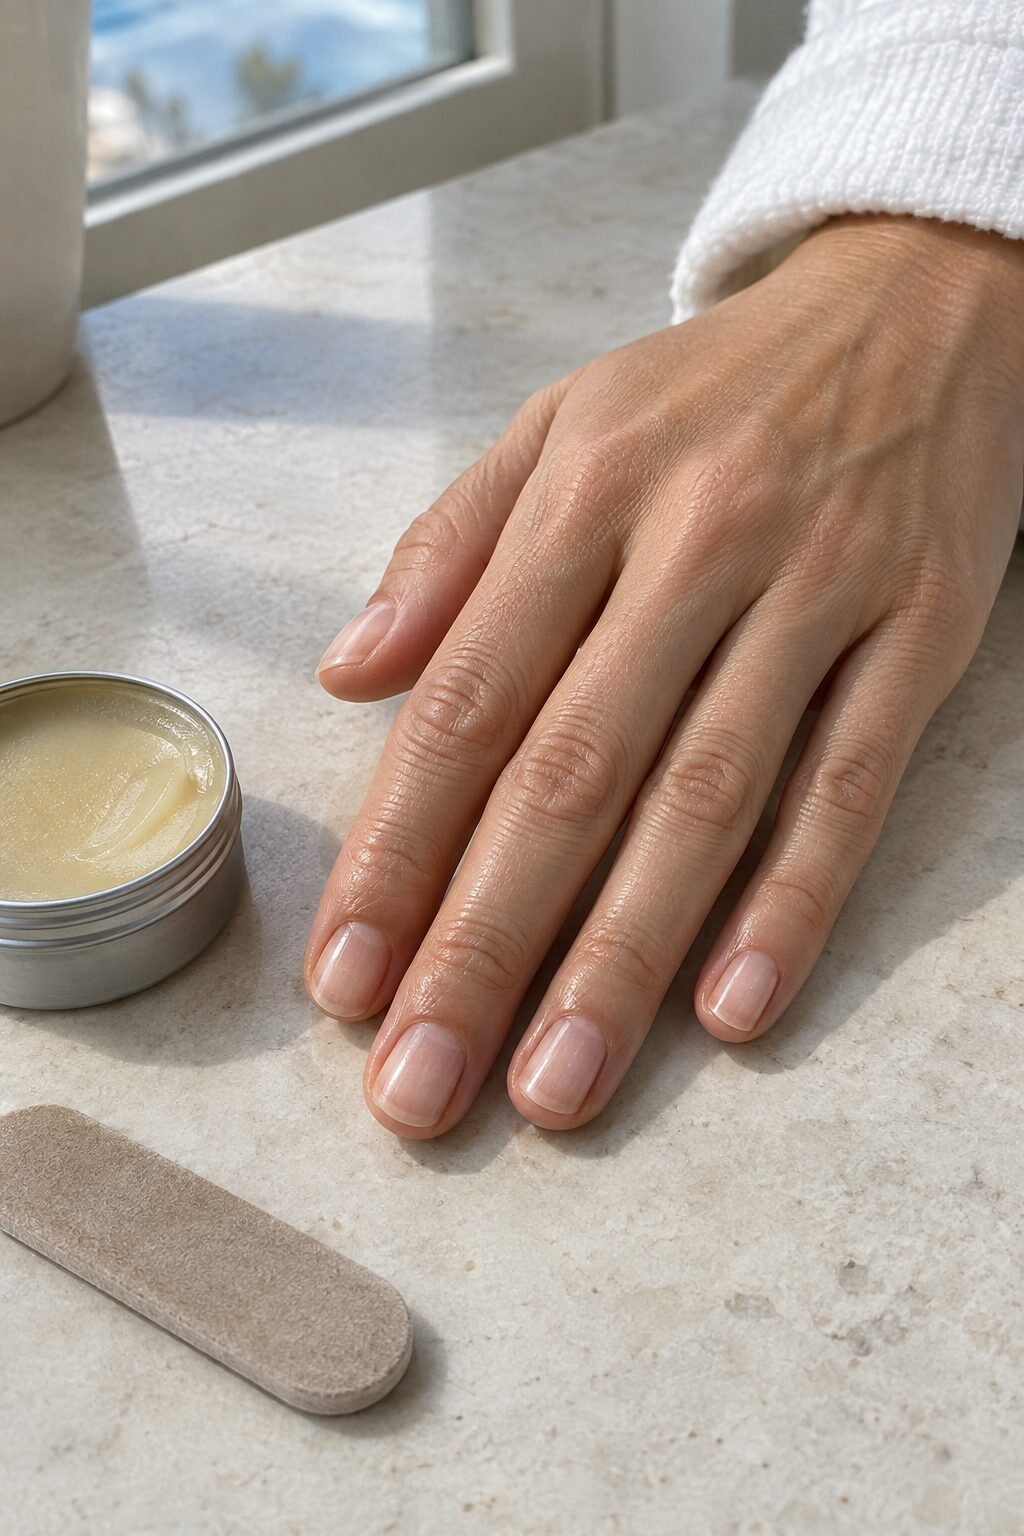
This is the heart of the whole ritual. The paste is usually a blend of beeswax, keratin and vitamins A and E.
Massage a tiny amount into each nail and cuticle with small circles, then buff it in with the suede buffer. The warmth from buffing helps the paste sink in instead of sitting on top.
A little goes a long way. One small tin lasts most people many months.
7. Buff In the Powder for the Pearl Shine
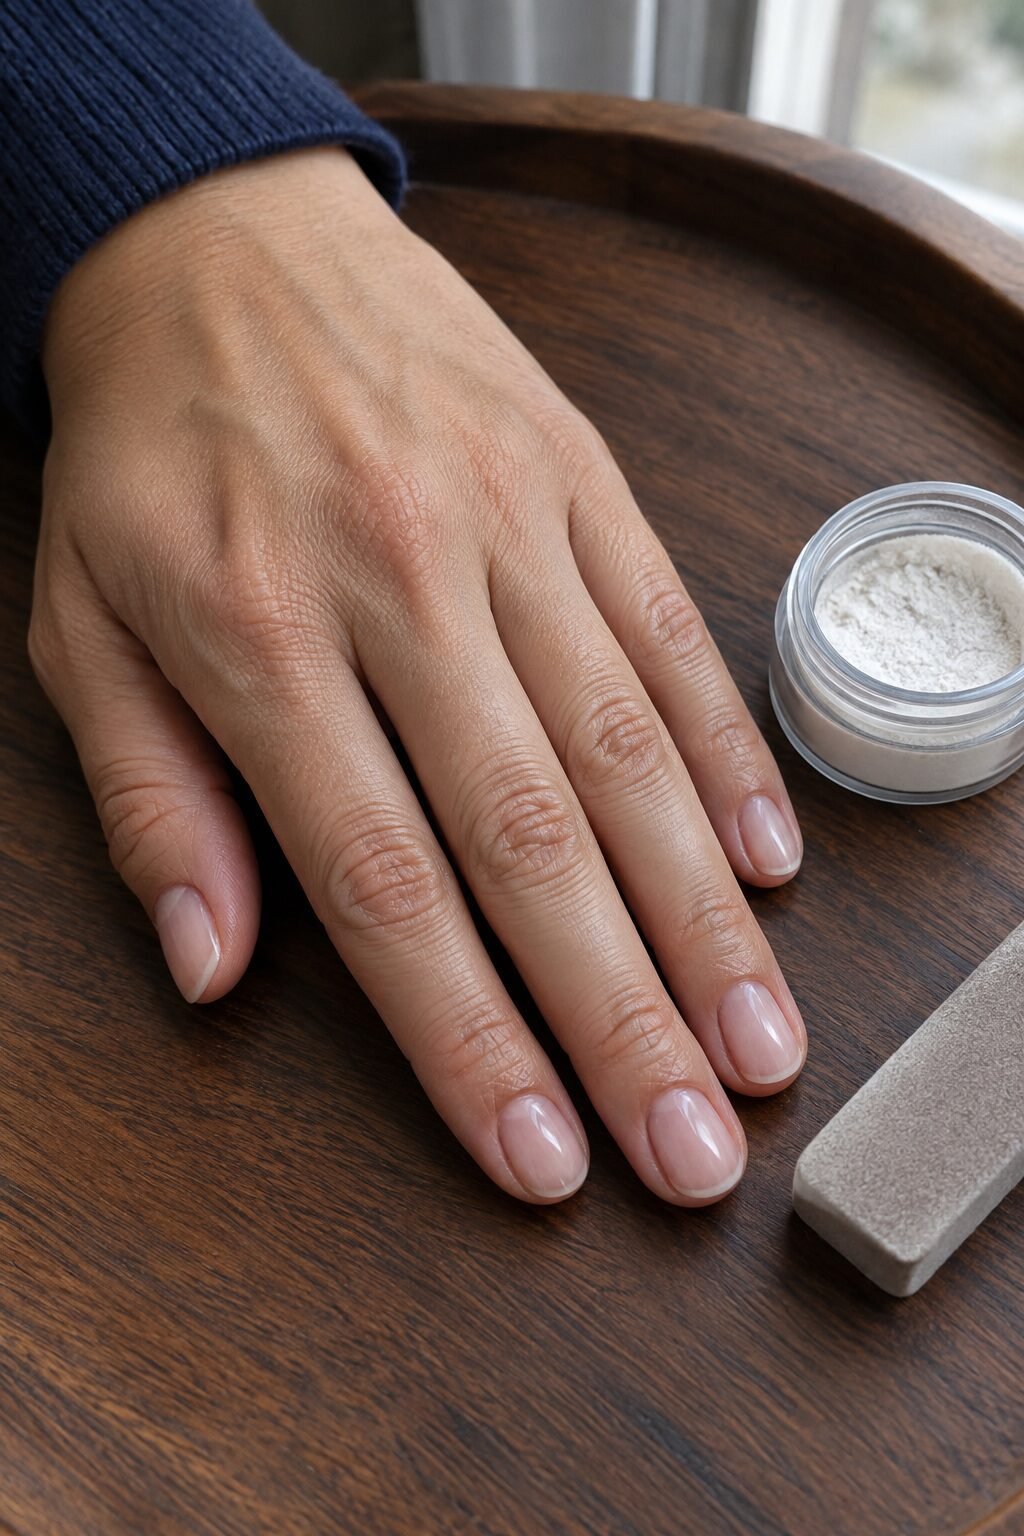
Now for the part everyone loves. Dip the buffer into the fine mineral powder and buff across each nail with quick, light strokes.
Within seconds the nail turns glossy, almost like a clear coat. The shine comes from the nail surface itself being polished smooth, so it can’t chip the way polish does.
The finish usually lasts about a week before it softens.
Tip: use a separate buffer for the powder so it doesn’t mix with the paste.
8. Seal the Ritual With Cuticle Oil
Editor’s Picks
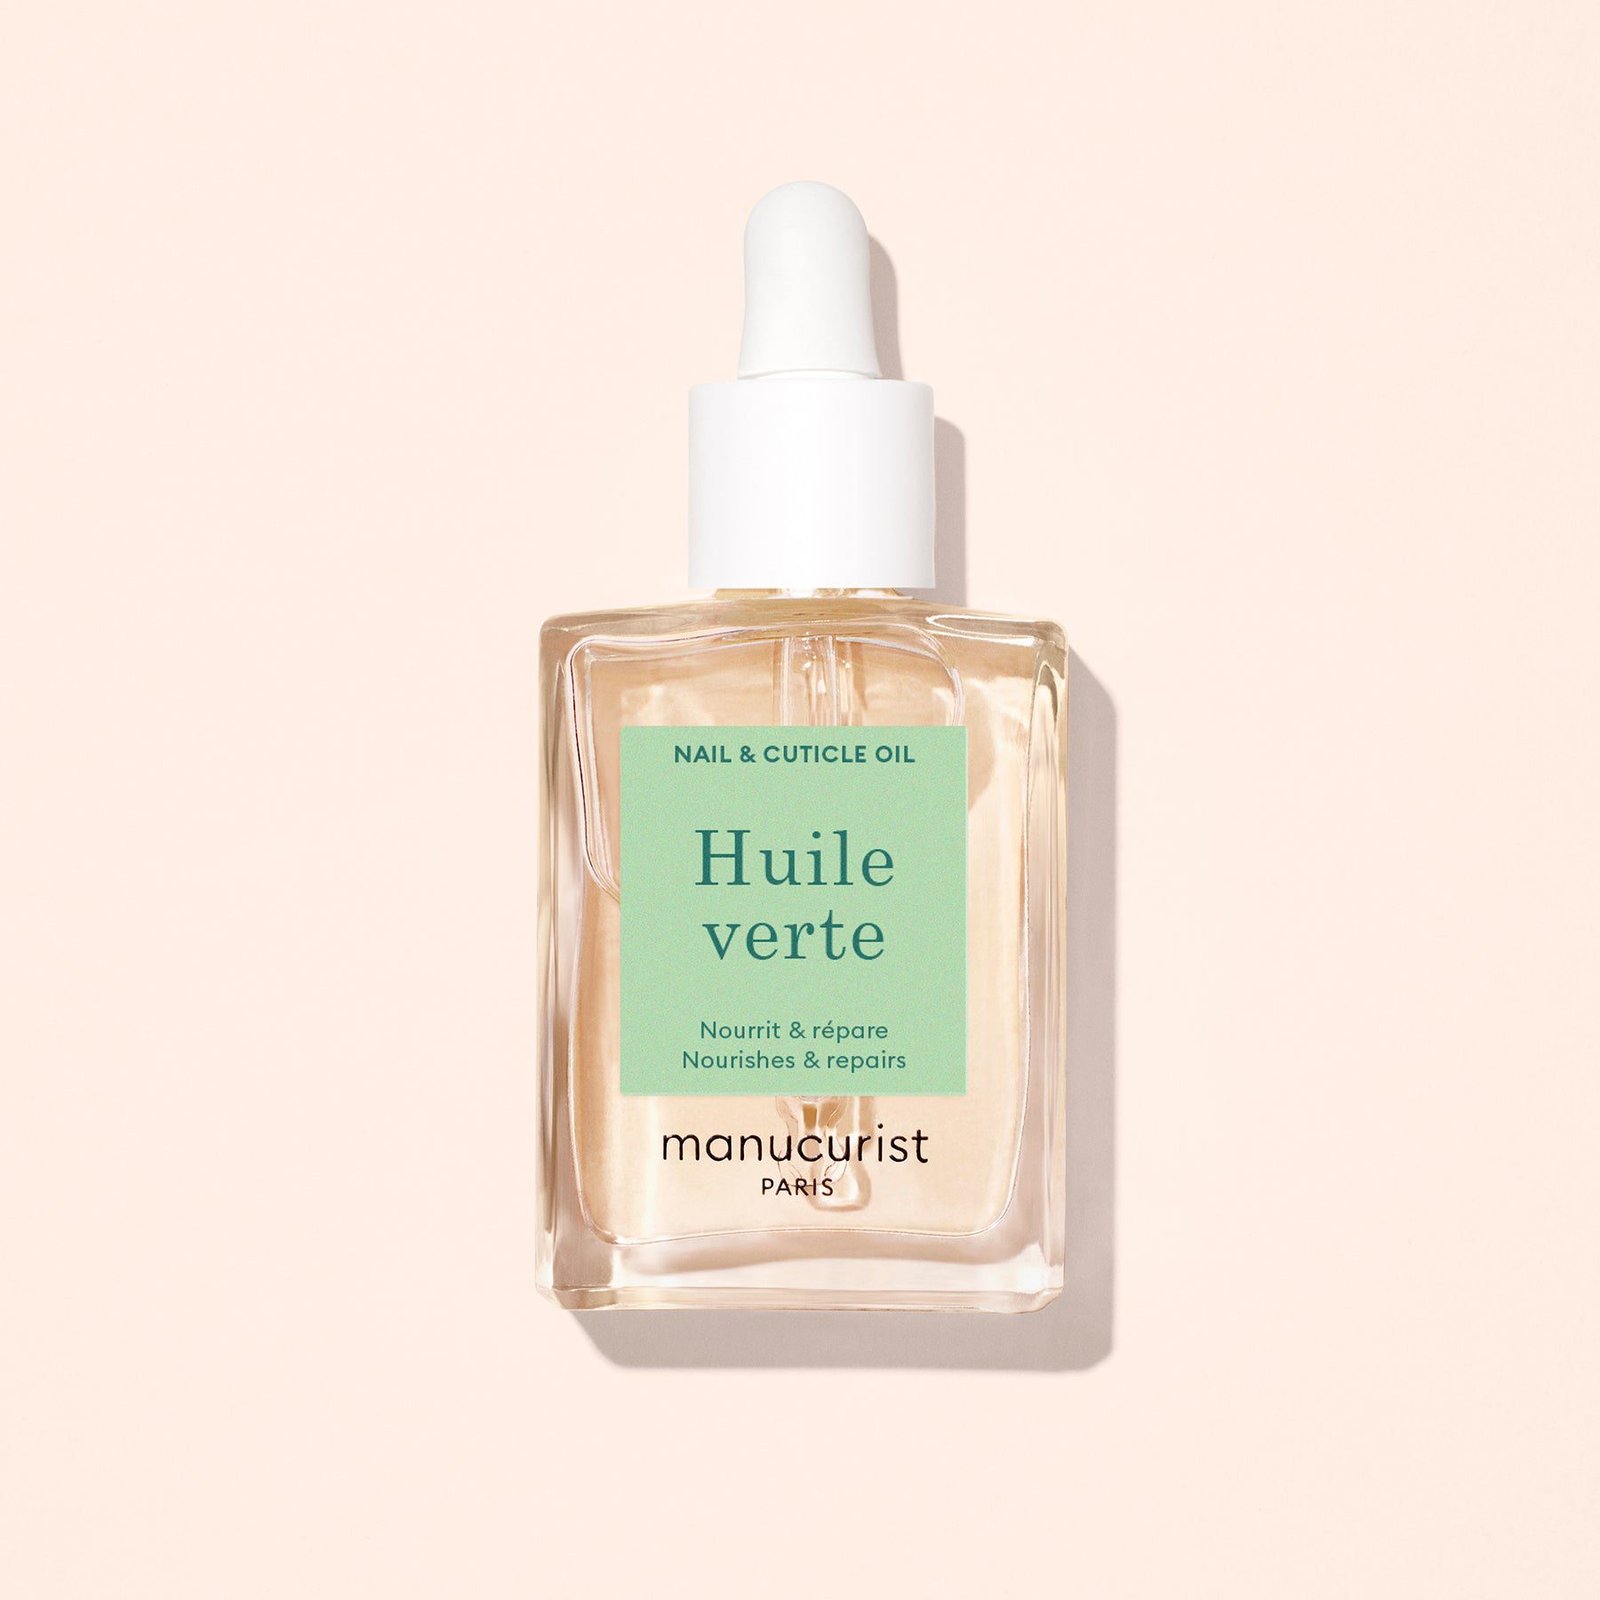
Nourishing Cuticle Oil (Huile Verte)
$15 | Manucurist’s Huile Verte, a blend of six plant oils that softens cuticles and strengthens nails. A dropper bottle that’s easy to use one drop at a time.
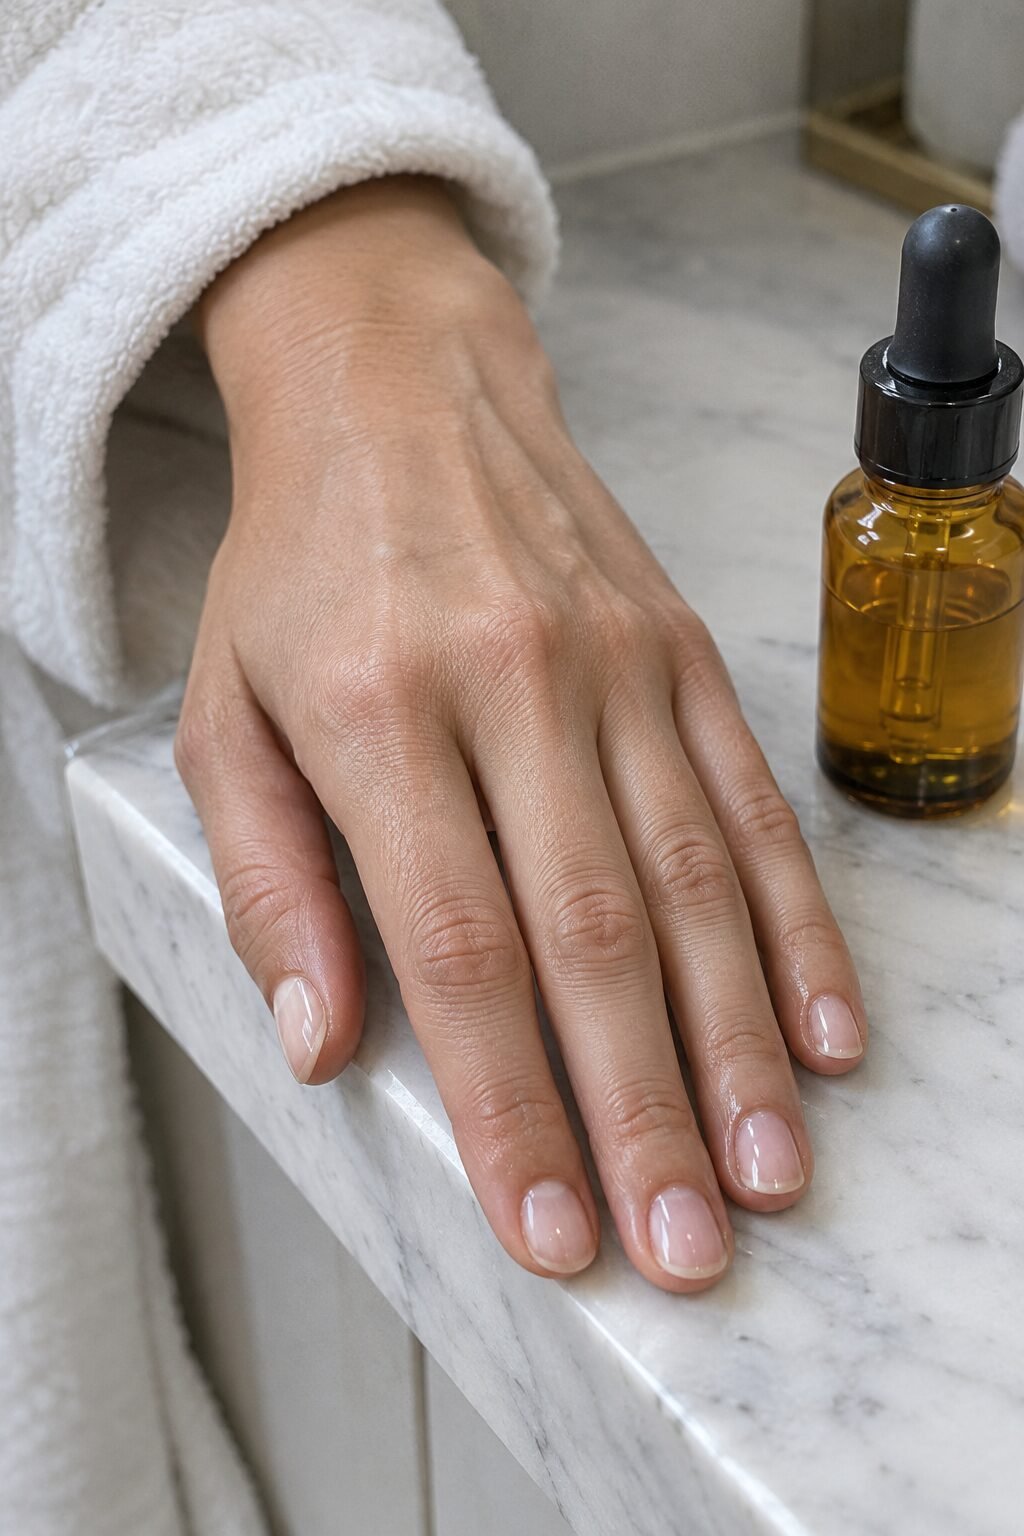
Finish with one drop of oil on each cuticle, rubbed in with your thumb.
The oil keeps the skin around the nail soft and flexible. Healthy cuticles are what make a bare nail look expensive rather than unfinished.
Keep doing this every evening between sessions, even when you skip everything else.
Styling tip: One drop per nail is plenty. More than that just ends up on the sheets.
9. Skip the Polish, or Add One Sheer Wash of Color
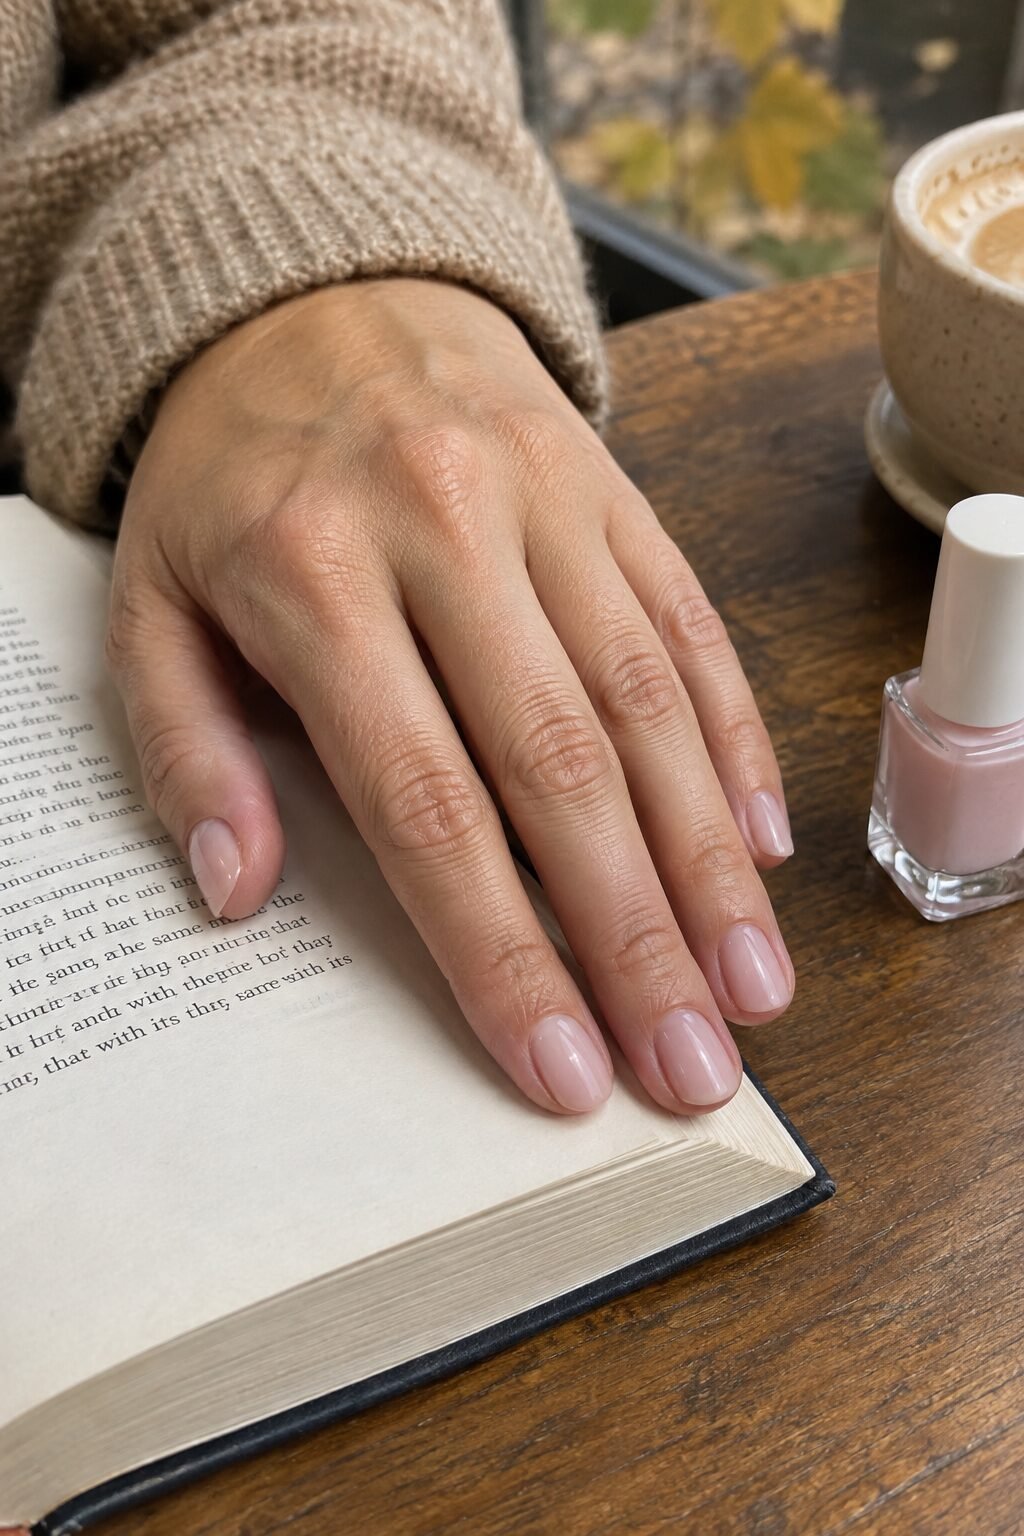
The whole point of this manicure is bare, glowing nails. Most of the time, you won’t want anything on top.
If you do want a touch of color for an event, choose one coat of a sheer tint so the shine still shows through. An opaque polish would hide exactly what you just spent ten minutes creating.
For the sheer pinks I actually wear, see my guide to old money nails.
10. Re-Buff Weekly and Protect Your Hands Daily
Editor’s Picks
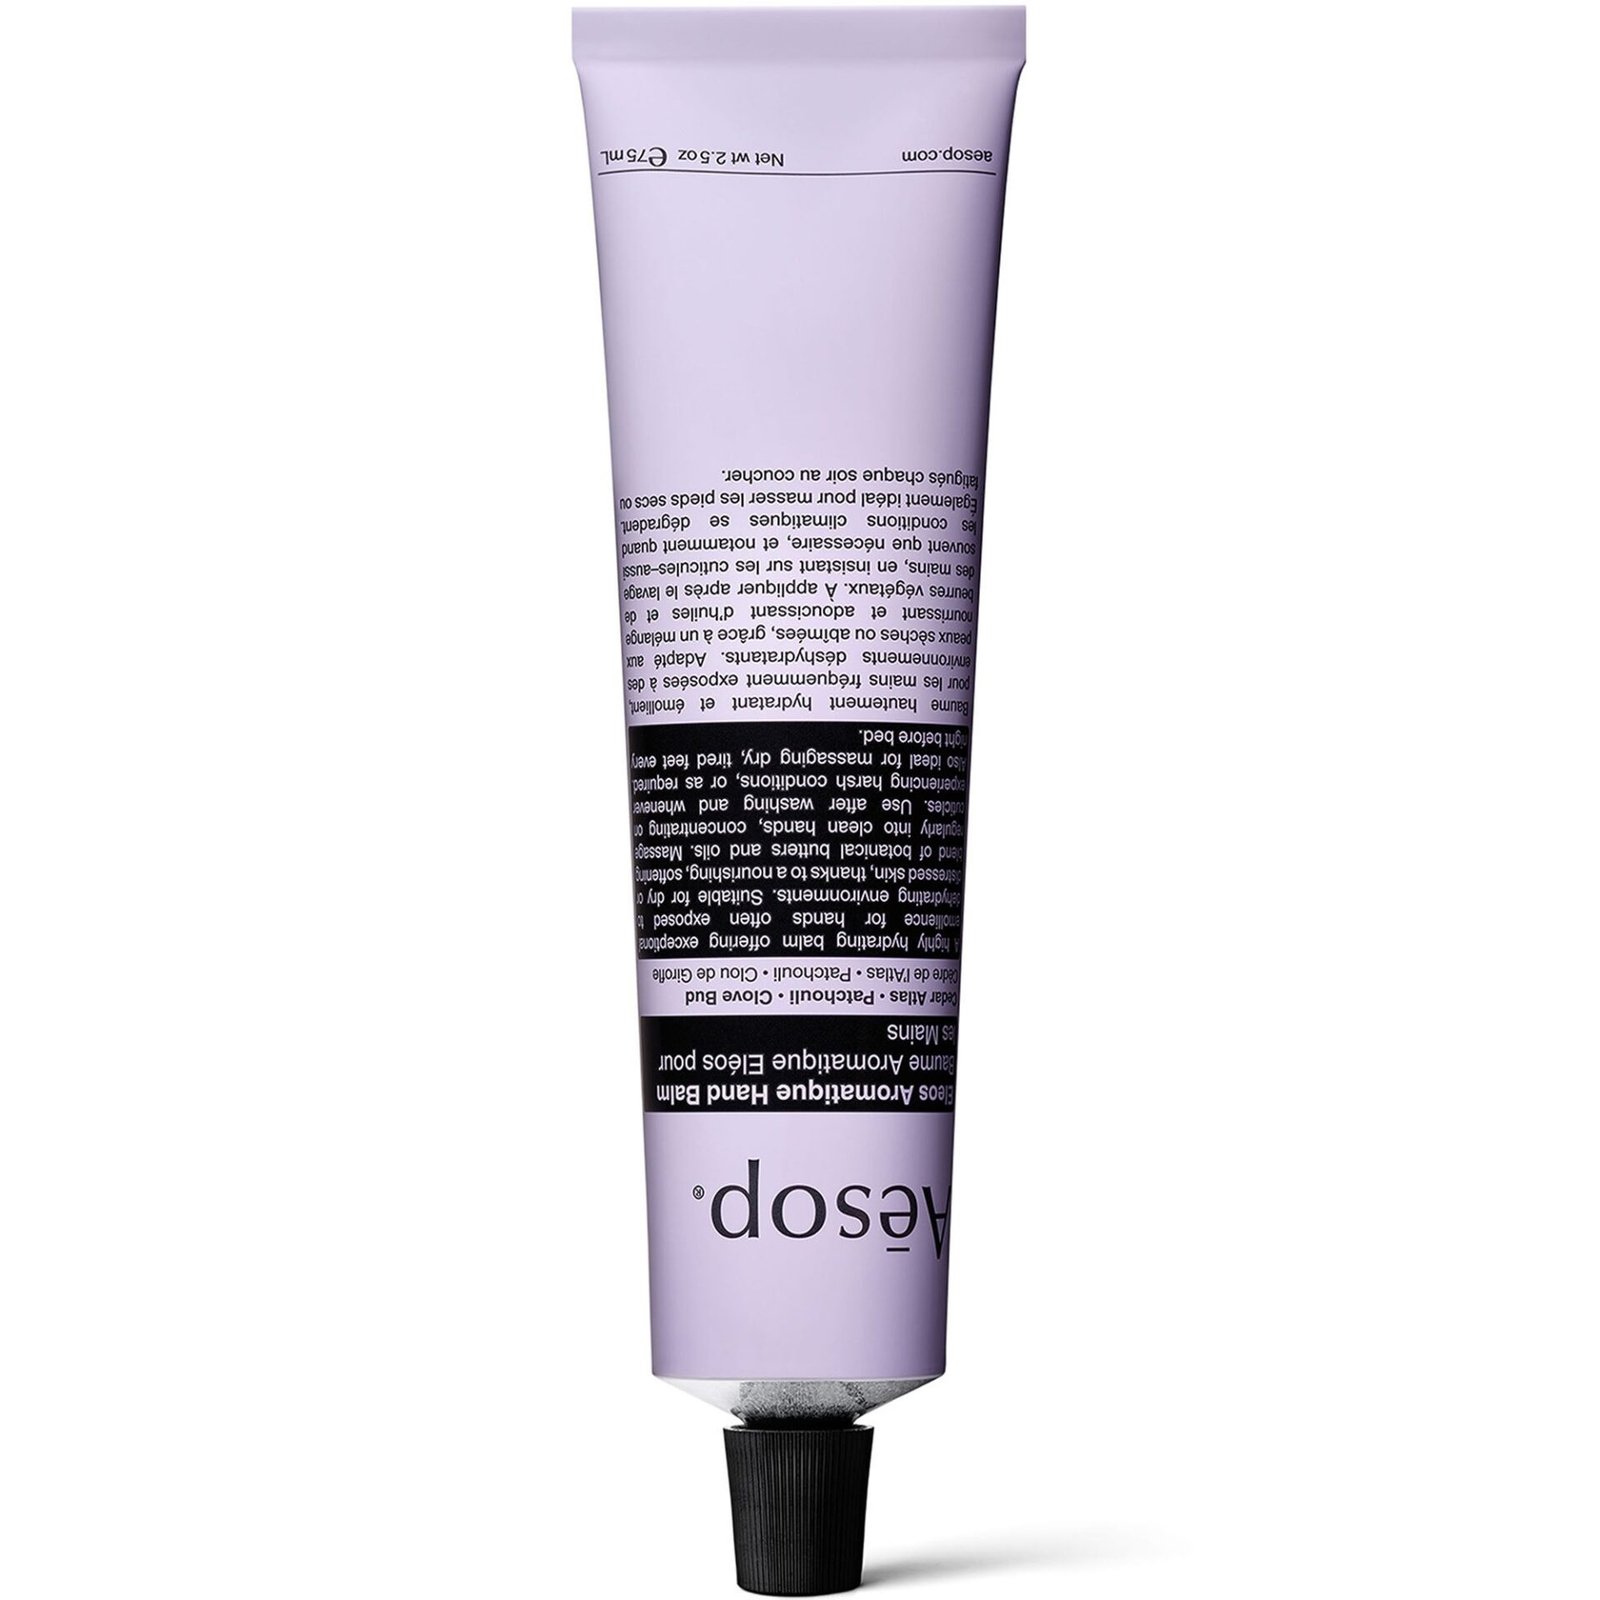
Aesop Eleos Aromatique Hand Balm 75ml
$37 | A rich, botanical Aesop hand balm in a 75ml tube, meant for dry, stressed hands. Small enough to keep by the sink.
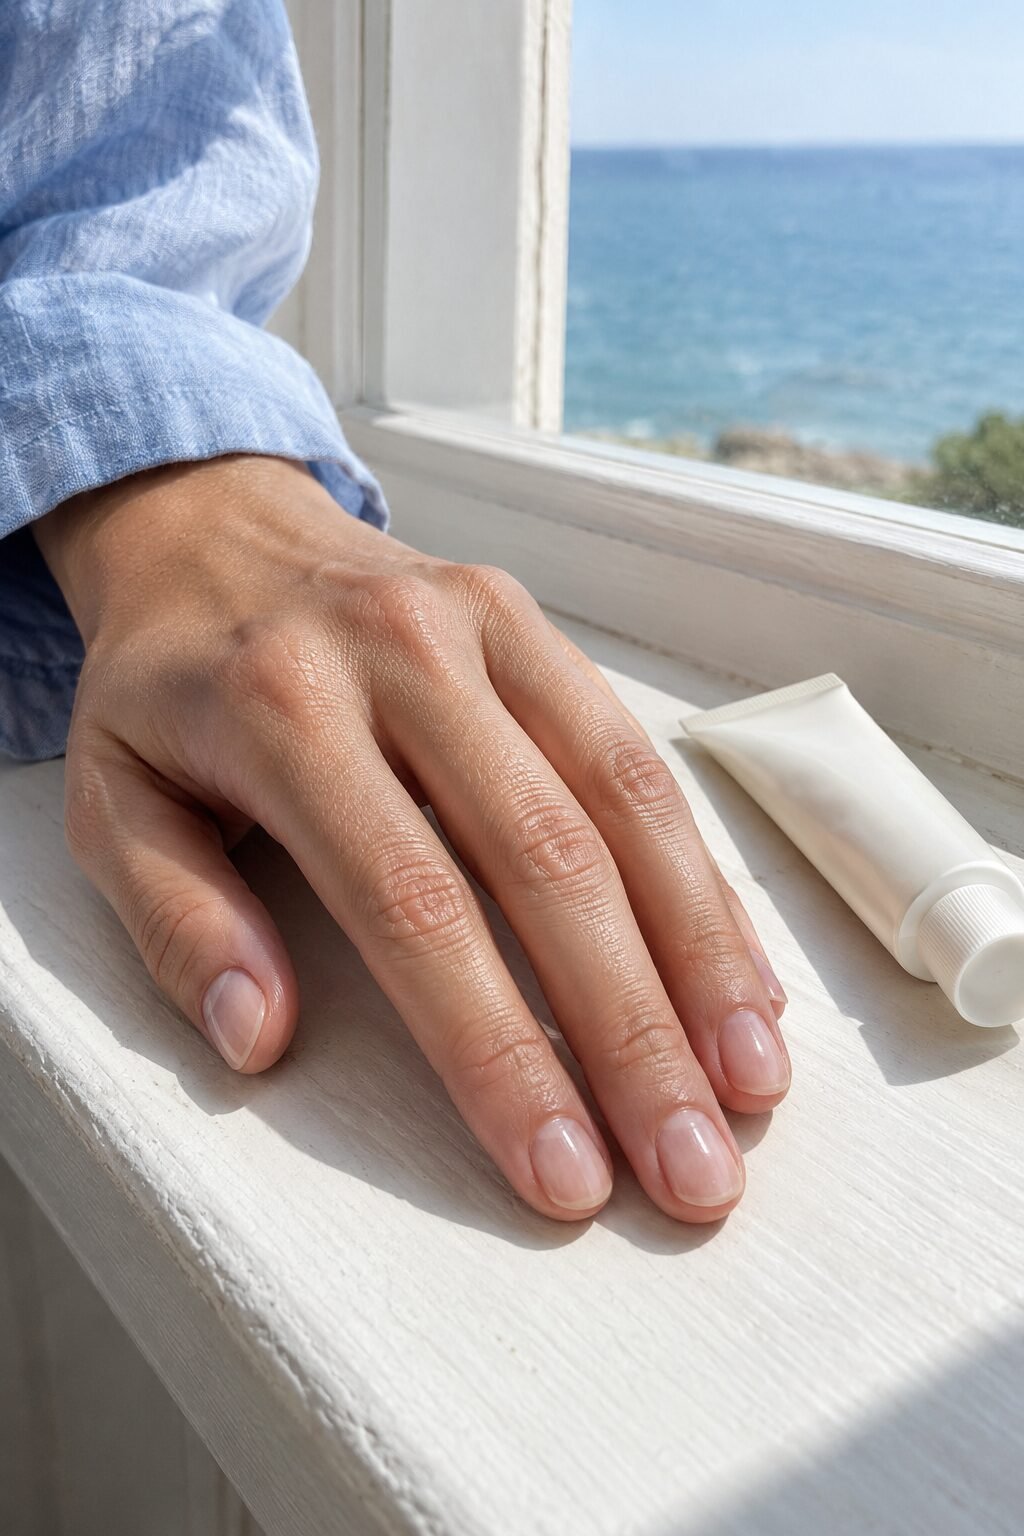
To keep the shine, re-buff with the powder once a week. It takes about two minutes.
In between, protect the work. Wear gloves for the dishes, and use hand cream every time you wash your hands. Hot water and soap are what dull the finish fastest.
If you like this kind of low-effort polish, my quiet luxury beauty habits follow the same idea.
Styling tip: I keep a tube of hand cream by every sink in the house. If it’s there, I use it.

Never Sure What to Wear in the Morning?
The 30-Day Fall Outfit Calendar decides for you: 12 pieces, 30 outfits, one for every day of the month.
$9, instant PDF
See the 30 OutfitsOnce you’ve done it a couple of times, the whole ritual takes ten minutes. Soak, shape, buff, paste, powder, oil.
Healthy nails with a natural shine are the quietest kind of polish there is.
For more ways to keep a bare, clean manicure looking fresh, have a look at my favorite products for soap nails.
Frequently Asked Questions
What is a Japanese manicure?
A Japanese manicure is a nail treatment where a nourishing paste is massaged into the nail and a fine mineral powder is buffed over it, creating a natural glossy shine with no polish.
How long does a Japanese manicure last?
The shine usually lasts about a week. A quick re-buff with the powder brings it back.
Can I do a Japanese manicure at home?
Yes. You need a glass file, a gentle buffer, a Japanese manicure paste and powder kit, and cuticle oil. It takes about ten minutes.
Is a Japanese manicure good for weak nails?
It’s much gentler than polish or gel because there’s no acetone or UV lamp. Buff very lightly on thin nails, or skip the buffing step.
Is a Japanese manicure the same as a regular buff?
Not quite. A regular buff only smooths the surface, while a Japanese manicure also massages in a nourishing paste before the final shine.
Save This For Later
Loved japanese manicure? Save this pin to your Pinterest board now so you can find it again anytime you need the inspiration.
Want a fresh outfit idea each morning? Follow Heritage Mode Maison on Instagram.
